If you want to be able to track a full timeline for an event,
you can create a Timeline!
It's really easy to get started!
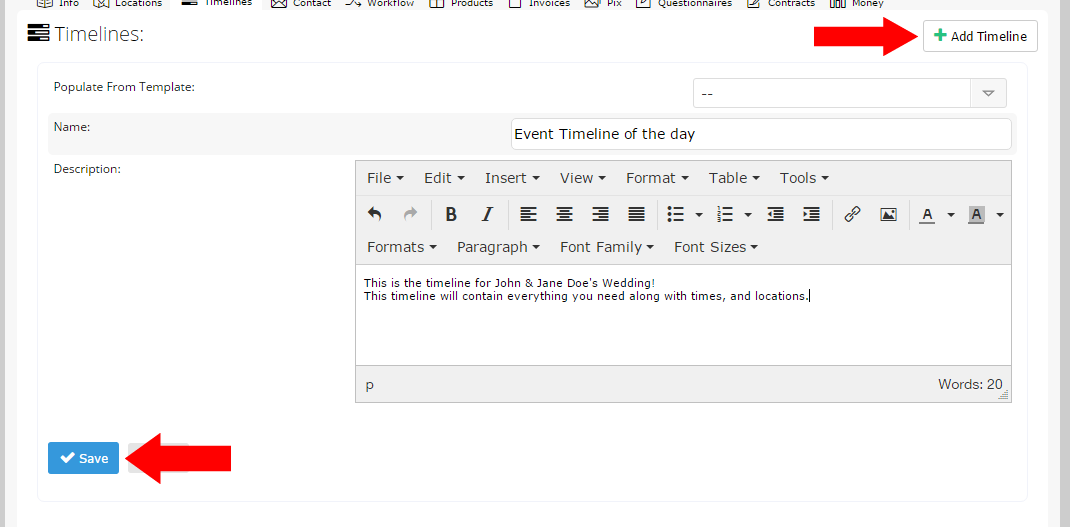
First navigate the the timeline tab in either a Lead or Event:

Then on the right, click the "Add timeline" button, fill in the details for this timeline
and then hit save:
Now that you've created the Timeline, we can go and add the actual timeline items to it, which specify what is happening at what time, and what location(s)!
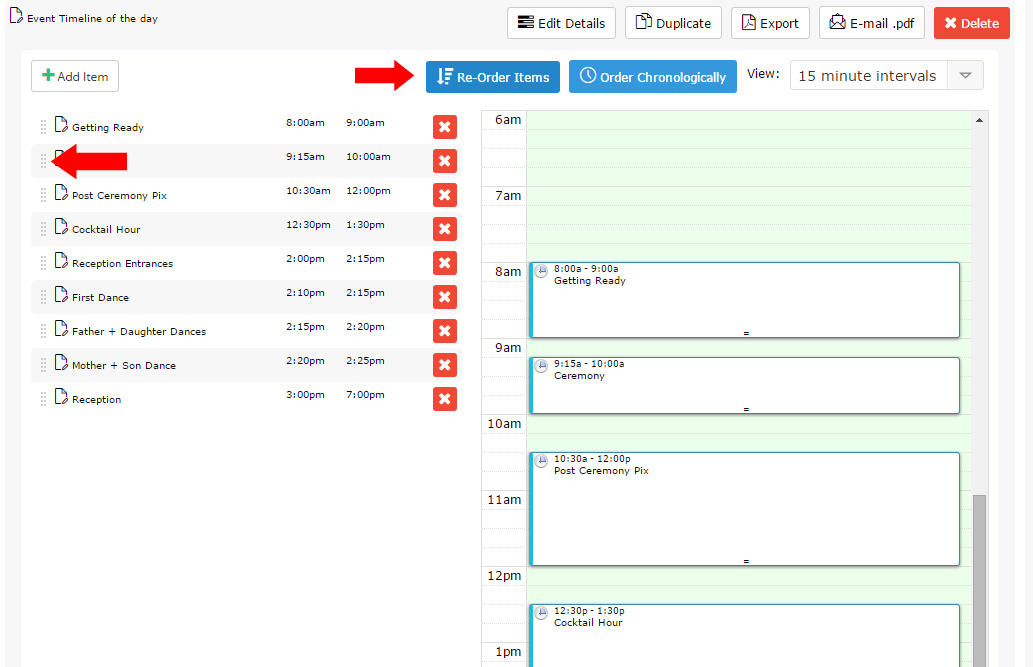
You'll notice that once you add the timeline, the timeline items collection opens up automatically, and you can now click on the "Add Item" button

After you've added some timeline items, if something changes and the order needs to be updated,
just click the "Re-Order items" button and then you can drag and drop the items into the new order,
or hit the Order Chronologically button and it will do that for you.
Now you've got an awesome event timeline, and you can export a nice .pdf version of it to have on your phone or
to print out that day!
You can also duplicate the timeline and create copies of it to tweak if a timeline should look different for different key people for the day!
If you need to change the name of the Timeline,
click on the "Edit Details" button
